Overworld Terrain
The generation described in this section will explain how Minecraft Beta 1.7.3 does its Overworld Terrain Generation. A lot of this will be based on educated guesses and the decompilation provided by RetroMCP. Additionally, certain historical bits and pieces will be taken from the Minecraft Wiki.
NOTE
The seed used throughout all of these comparisons is 3257840388504953787, the seed behind pack.png.
NOTE
In any visualizations, the shown chunks range from -1,-1 to 1,1. Additionally, up is always towards Negative Z, while right is always towards Positive X.
WARNING
This page is undergoing a large rewrite! For that reason, some info may be missing, even if it was once here before!
Initialization
Before any terrain generation can happen, the generator needs to be initialized in a very specific order. This is due to all of the noise generators relying on a shared PRNG for generating their permutation table. This is where the world seed is fed in.
Noise Generators
The overworld generator makes use of two types of noise generator: Perlin noise and Simplex noise. The perlin noise generators are used for terrain, while the simplex noise generators are used for climate and biome generation.
Terrain noises
8 Octaved Perlin Noise Generators are used by the overworld generator for the terrain. Due to needing to be initilaized by a shared PRNG object, their order is presented in the order they're seeded in.
| Generator | Octaves |
|---|---|
| Low Noise | 16 |
| High Noise | 16 |
| Selector Noise | 8 |
| Sand & Gravel Noise | 4 |
| Stone Noise | 4 |
| Continentalness | 10 |
| Depth Noise | 16 |
| Tree Density | 8 |
MISSING
Where does 684.412 come from?? Find a source on this!
The best theory we have right now is
Where
| Low | High | Selector | Continental | Depth |
|---|---|---|---|---|
 |  |  |  |  |
Colors adjusted be more visible.
Continentalness and depth are 2D, while low, high and selector noise are 3D. As a result, only the lowest slice of each is shown here. Tree density is 2D as well, but only used during the population stage for trees.
Chunk Generation Pipeline
After the generator has been initialized, chunks are generated in a few discrete steps.
- Generate the Biomes
- Determine the initial terrain density
- Turn the terrain density into the base terrain
- Replace surface blocks with biome-dependent ones
- Carve caves into the terrain
Biome Generation
To find out more about what biomes exist and how they're defined, check out the biomes page.
This process uses 3 octaved Simplex Noise generators called Temperature, Humidity and Weirdness. This process is described here.
| Temperature | Humidity | Weirdness |
|---|---|---|
 |  |  |
Temperature, humidity and weirdness values after being modified by this function. These values are in the 0.0 - 2.0 range.
With this a 16x16 Biome Array is generated, where any block column can contain any of the 13 Biomes.
| Foliage Colors | Map Colors |
|---|---|
 |  |
Biomes colored as per the biomes page.
Terrain Density
The terrain density is used to determine where solid terrain blocks are placed, primarily stone. It provides the base terrain that later generation stages build ontop of.
Constants
Before we get started, we must discuss some of the relevant constants for this section.
Firstly, the maximum x, y and z values. Our noises are sampled at a reduced resolution, so the max bounds for the area is calculated as follows.
For the default chunk size of 16x128x16, this results in 5 for the horizontal axis and 17 for the vertical one.
64 by default.
2D Noises
The following logic is iterated over along the X and Z axes. It's responsible for sampling the 2D noises, normalizing and combining them.
- Put temperature and humditiy together
- Normalize the contientalness values, apply the new humidity value, then clamp into the range
0.0to1.0, then offset by0.5.
- Calculate the depth values
- Force continentalness to
0.0if depth is negative.
This leaves the continentalness in a range of 0.5 to 1.5, unless a negative depth forces it to 0.0. This is the bit of math that prevents monoliths from happening.
- Calculate the base terrain height
3D Noises
After this follow the 3D noises. These are iterated over bottom to top, inside of the above X,Z ordered iteration.
- Combine our previously calculated values
- If they turn out negative, multiply by
4.0
- Normalize our low, high and selector noise samples
- Linearly interpolate (lerp) between the low and high noise in the places where the selector noise transitions between
0.0and1.0
- Subtract the density offset
- Fade the terrain towards the world ceiling
The result of this is placed into our 5x17x5 array of 64-bit floating point values.
Base Terrain
The base terrain density is initially determined using trillinear interpolated samples of our low-quality terrain density, iterating over the full 16x128x16 volume.
This gives us an upscaled set of values we can determine our base terrain with.
- Any block below the water level (
), is water. Water blocks at the water surface ( ) can become ice, if the temperature ( ) of the column is less than 0.5
- If the current interpolated density sample (
) is greater than 0.0, stone will be placed there
- All other blocks default to being air
| Terrain | Terrain (water) |
|---|---|
 |  |
Highest stone blocks. Color values have been tweaked to be more readable. Blocks at or below water level are marked in blue.
Biome Surface Blocks
MISSING
TODO: The following still contains code!
After the terrain shape has been generated, the chunk is transformed further by the Sand, Gravel and Stone Perlin Noise Generators.
| Generator | Octaves | Scale |
|---|---|---|
| Sand & Gravel Noise (Sand) | 4 | (1/32, 1/32, 1.0) |
| Sand & Gravel Noise (Gravel) | 4 | (1/32, 1.0, 1/32) |
| Stone Noise | 4 | (1/16, 1/16, 1/16) |
| Sand | Gravel | Stone |
|---|---|---|
 |  |  |
Sand, Gravel and Stone noise. Color values have been tweaked to be more readable.
X-Z Logic
The chunk is now iterated over in x-z order.
- The biome for the specified column is read (
) - Its checked if sand is possible to be placed here (
)
- Its checked if gravel is possible to be placed here (
)
- An integer is generated for if stone can be placed here (
)
- The biomes appropriate top (
) and filler ( ) block is chosen (e.g. Grass and Dirt)
Y Logic
For this the current block column is iterated over from top to bottom, from 127 down to 0.
- Check if bedrock can be placed. This utilizes a number from the Java PRNG (
) between 0and4.
If bedrock gets placed, we just continue on to the next
- If the current block (
) is air, set to -1.0, and continue onto the nextvalue.
If the current block (
) is not stone, continue onto the next value. From here, the chosen behavior splits based on whether the stone depth (
) is -1or greater than0. If neither are true (), continue onto the next value.
Then we continue onto the next
- Top and filler selection is done based on stone noise. This is also where erosions are generated.
- Surface sand and Gravel placements are deteremined
- Further water placements are determined
- Lastly, the top and filler blocks are placed
This finishes up the initial biome-based block layers.
Cave carving
See the cave generation wiki page
After this, the lighting is updated and the heightmap is generated.
Heightmap
The initial heightmap generation boils down to iterating through every xz coordinate, from the top to the bottom, and stopping if any block with an Opacity that isn't 0 is run into. Additionally, it keeps track of the lowest block height it has encountered up to that point.
Population
Continue onto the population page to find out more.
Further reading
- Java Edition Far Lands/Infdev 20100327 to Beta 1.7.3
- Nether
- Beta 1.8 Generation
- Release 1.0 Generation
- Release 1.1 Generation
- Release 1.2 Generation
History
The first version to have the Beta-era generator was Alpha 1.2.0, and it was used up until Beta 1.7.3.
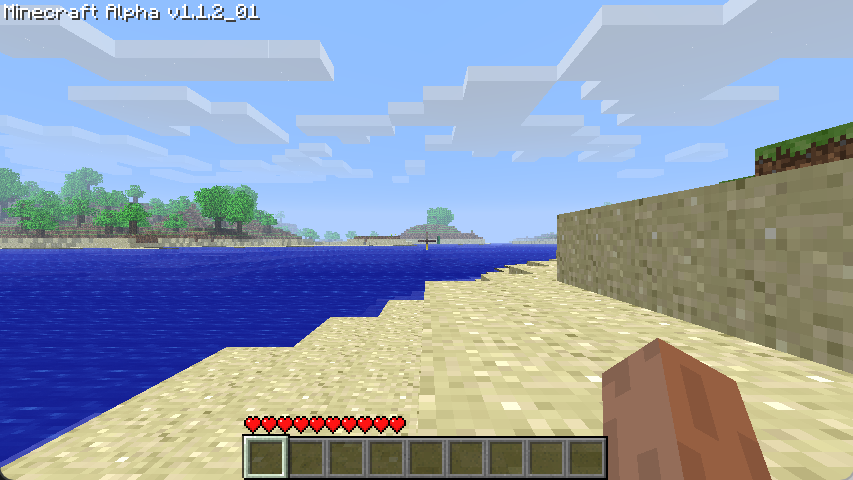
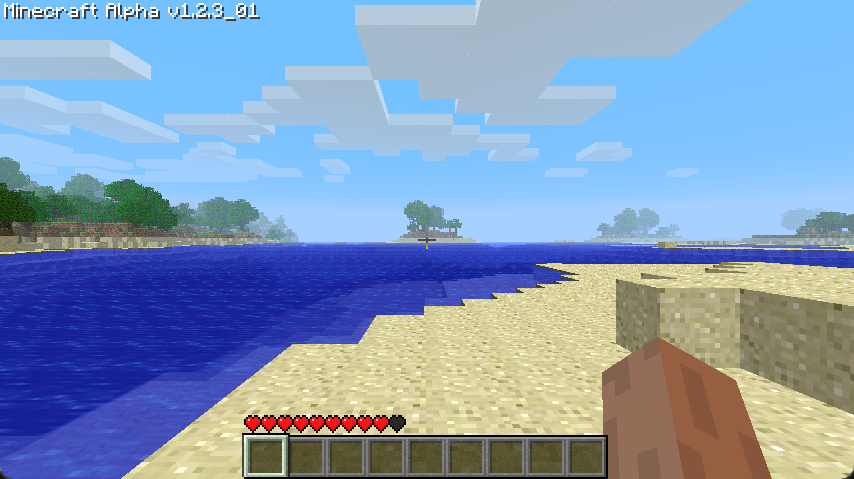
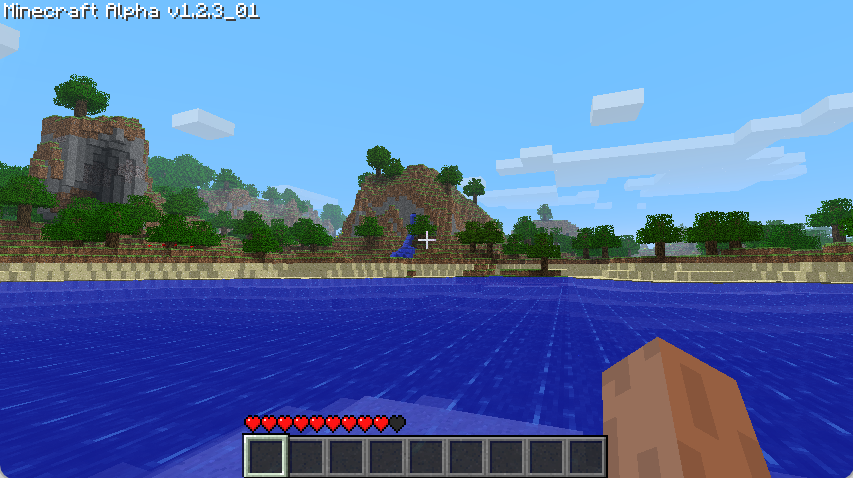
However, we can see that the general shape of the terrain remains the same by using the same seed and spawn location in Alpha 1.1.2 (pre-rework), Alpha 1.2.3 (post-rework) and Beta 1.7.3.
| A1.1.2 | A1.2.3 |
|---|---|
 |  |
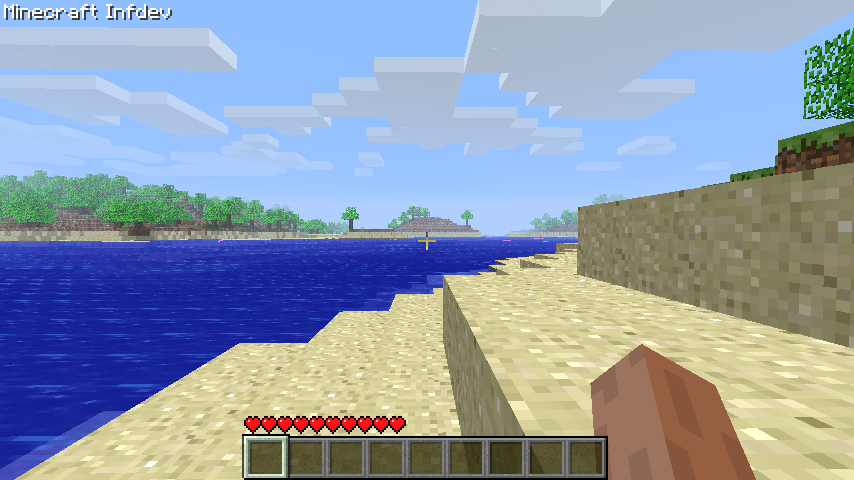
This similar pre-1.2.0 generation dates all the way back to Infdev 20100624, before which the world generation looked entirely different.
| Inf20100624 | A1.1.2 |
|---|---|
 | |
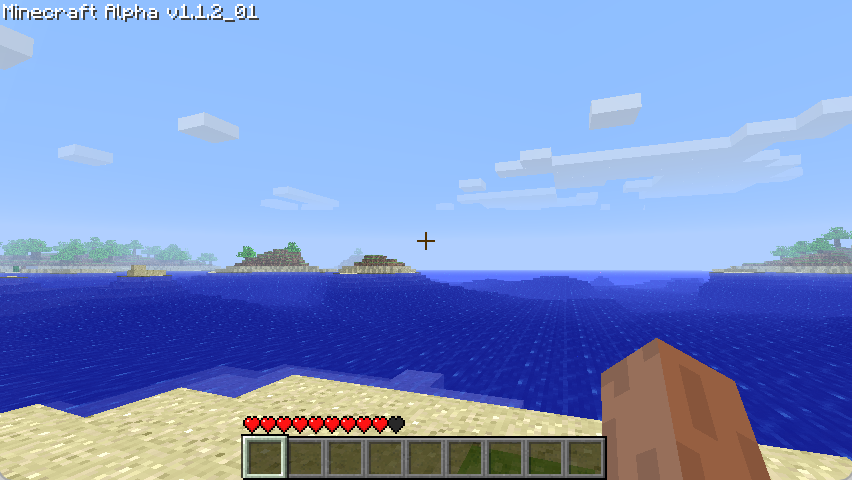
Facing the other way reveals some of the more glaring differences between the generators.
| A1.1.2 | A1.2.3 |
|---|---|
 |  |
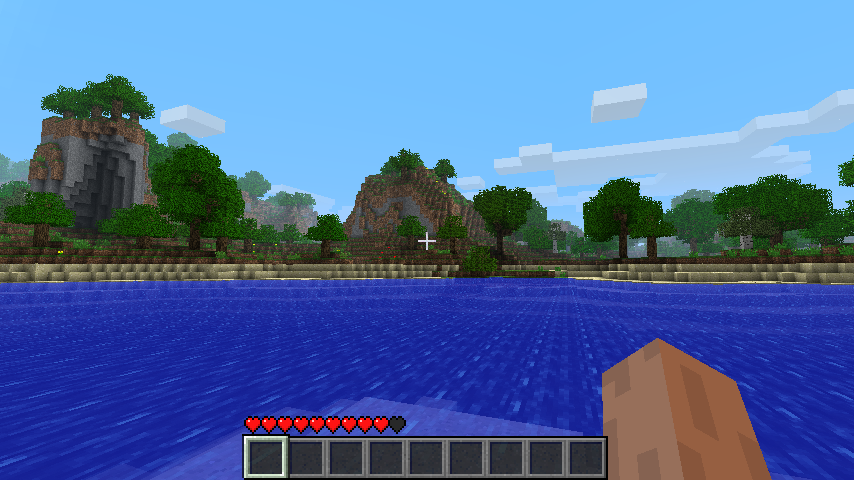
Between Alpha 1.2.3 and Beta 1.7.3 there only exist minor differences, mainly relating to the feature generation.
| A1.2.3 | B1.7.3 |
|---|---|
|  |